This is the second post in a series about iOS development from the perspective of a C# developer.
In the previous post in the series we got started with MonoTouch and installed MonoDevelop and XCode. In this post, we’ll look at how to set up version control for an existing MonoTouch solution.
Version Control
I didn’t have enough time at the hackathon to learn how to set up version control for MonoDevelop on a Mac. So let’s fix that straight away.
Git
I’m much more familiar with Mercurial, and while it’s possible to get TortoiseHg to run on a Mac, it seems that the Mac world prefers Git. MonoDevelop has Git integrated which I like very much so I’ll go with Git for now. I can always switch later.
Ignore files
Open a terminal and navigate to the root of your existing source code folder.
$ cd Projects/Babingo # replace with /path/to/your/repo
You need a .gitignore file to avoid version controlling compiled sources and user settings unnecessarily.
Create a new file .gitignore as follows. You can type nano .gitignore if you don’t have a favourite text editor.
1 2 3 4 5 6 7 8 9 10 11 12 13 14 15 16 17 18 19 | |
Initial commit
Now initialise a repository for your existing source code and commit it.
$ git init
$ git add .
$ git commit -m "Initial commit."
BitBucket
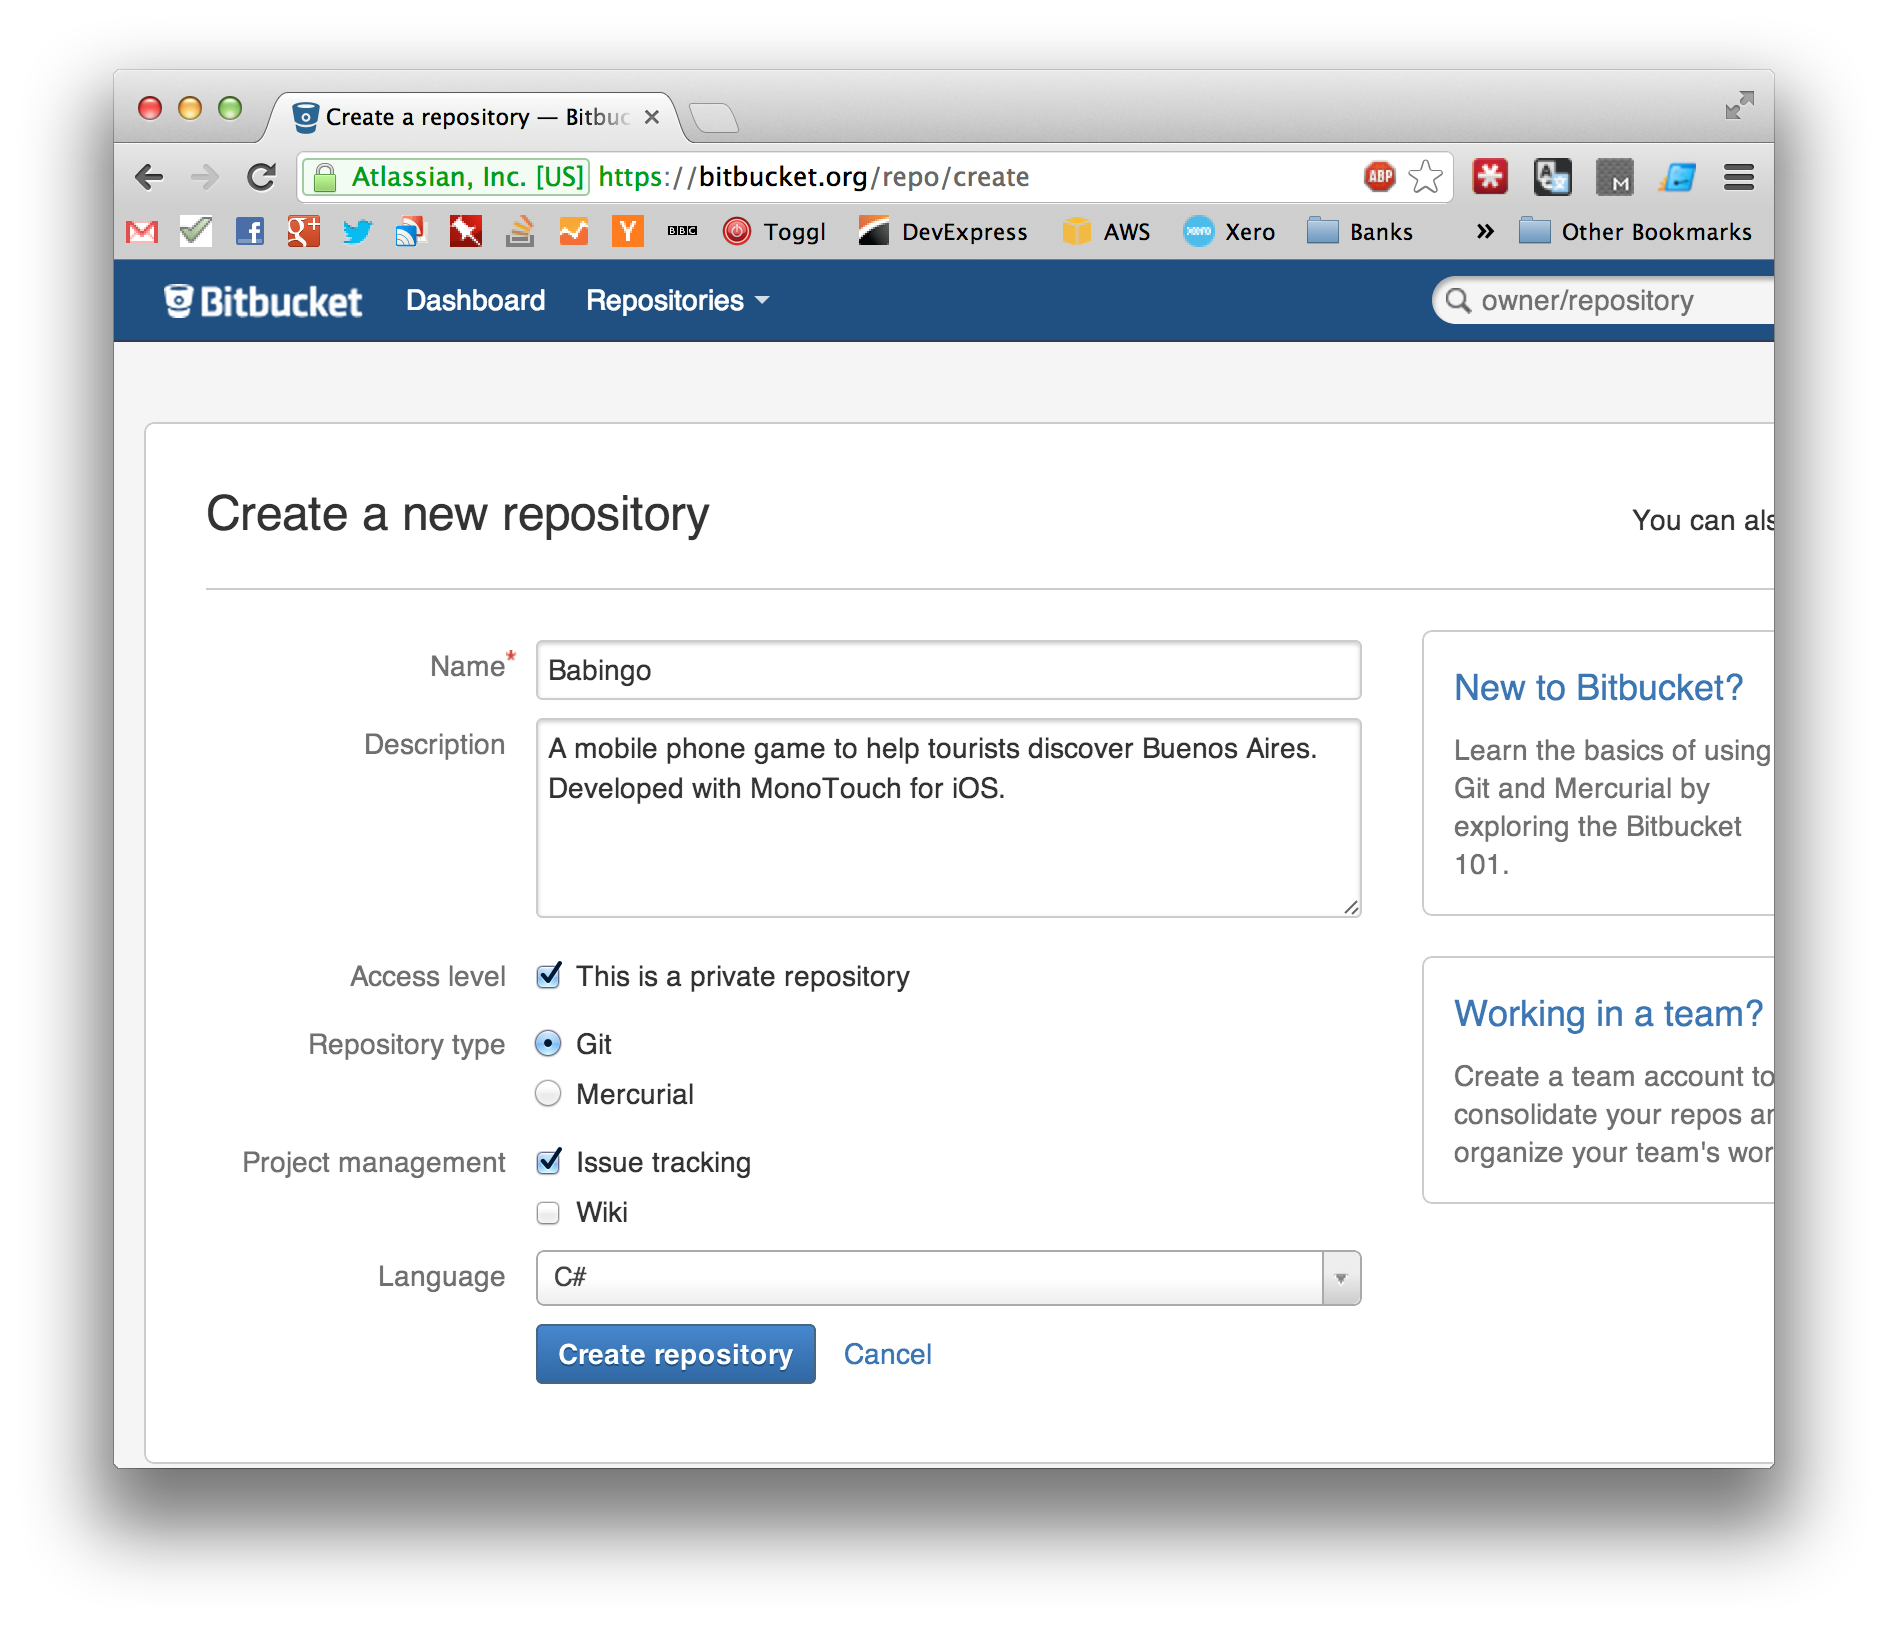
Next create a private repository on BitBucket.
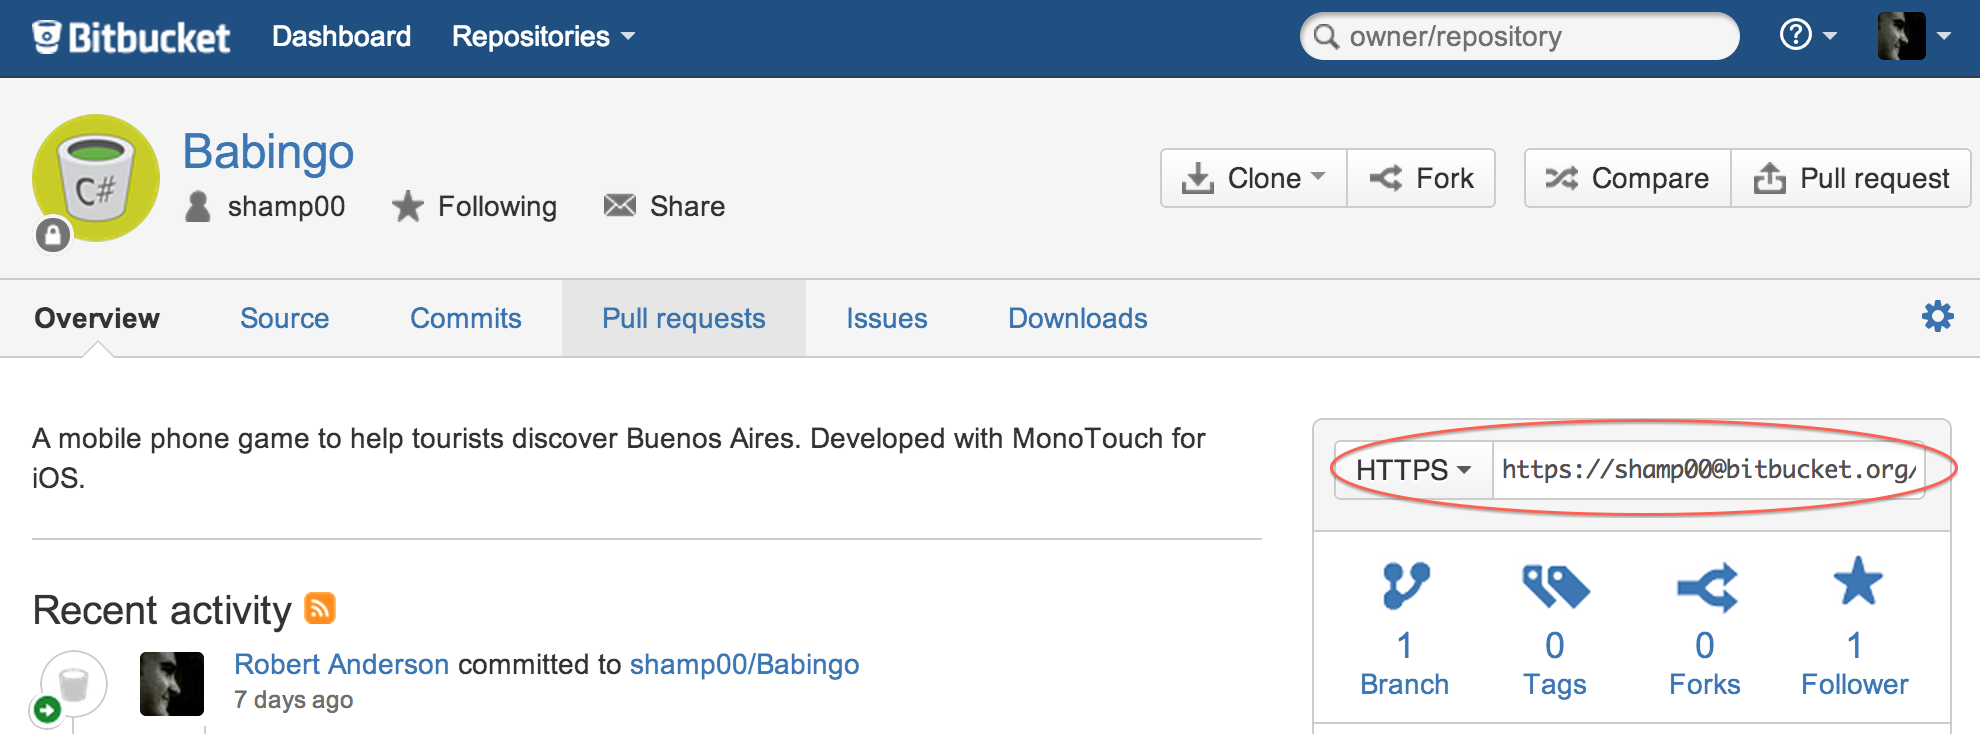
You will need the address for your repository from the BitBucket page circled in red below.
Then, from the terminal, push the code to BitBucket. Replace the Url below with the address of your your own repository.
$ git remote add origin https://shamp00@bitbucket.org/shamp00/babingo.git
$ git push -u origin --all
Integration with MonoDevelop
Open your solution in MonoDevelop and select the Checkout... option from the Version Control menu.
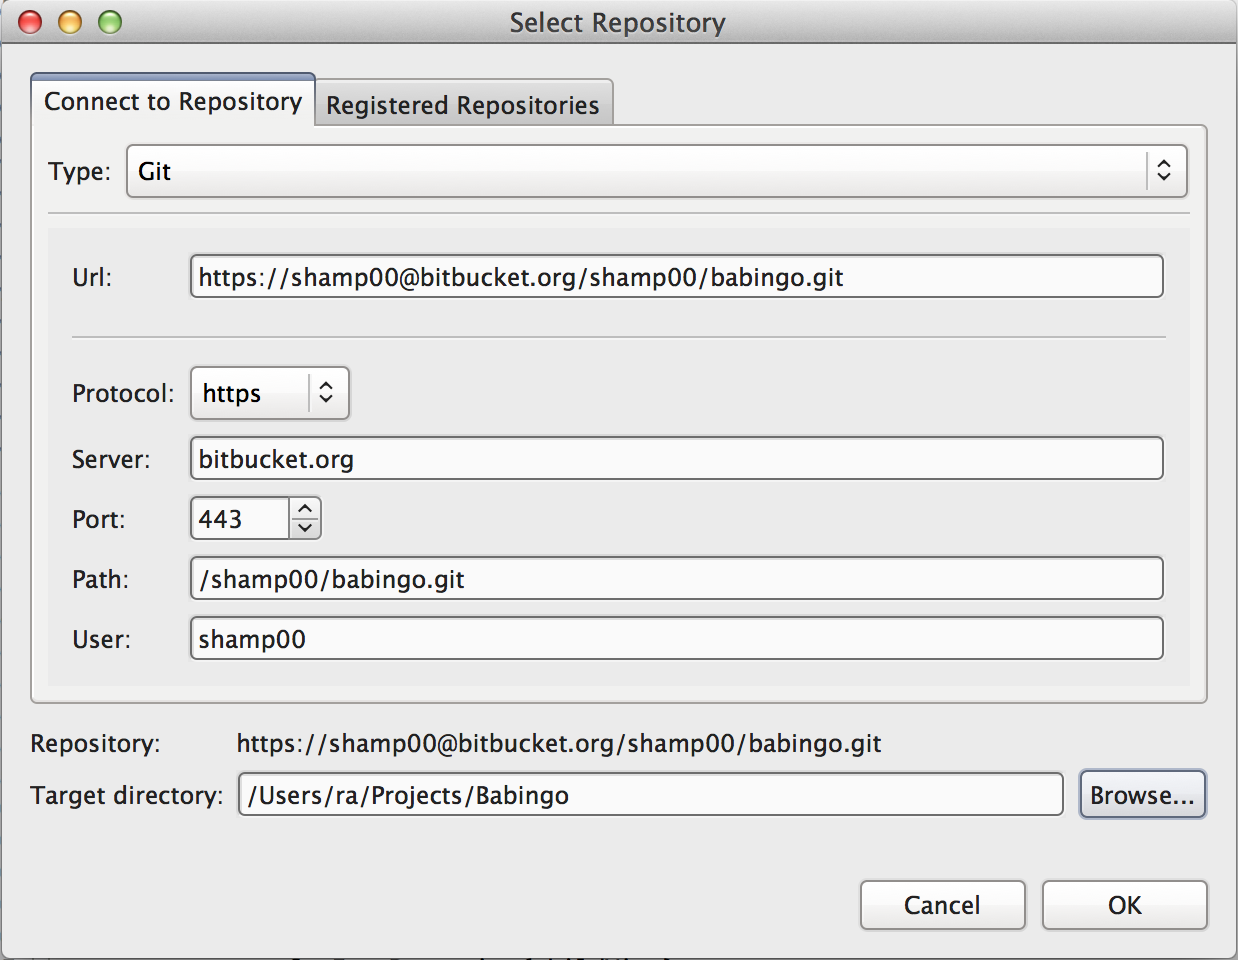
Select Git as the type of repository and put the address to your git repository in the Url field. The rest of the fields are populated automatically. You need to set the Target Directory to the location of your local repository including the trailing slash.
When you click Ok, you will be prompted for your BitBucket credentials.
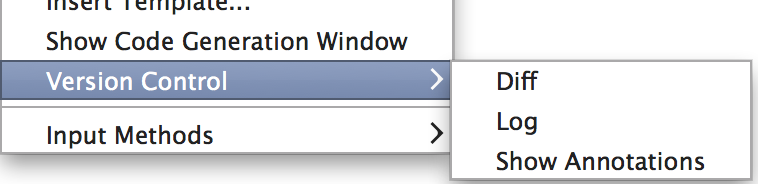
That’s it. Now Git is integrated into your MonoDevelop environment. For instance, you can right-click in the editor to view the diff or the log of the current file, push changes, commit messages locally, etc.
Note that instead of BitBucket, it would have been just as straightforward to host the repository on GitHub instead.