This is the first part of a tutorial about load testing XAF applications. See the overview for a bit of background. In this post we set up the target webserver.
You can target any machine which has a publicly available web address, but for this tutorial, I’m’ deploying the MainDemo to the Amazon cloud, by following the instructions in Part 1 and Part 2 of my previous series about Amazon Web Services.
I am using version 12.2.7 of the DevExpress XAF MainDemo. There are a couple of extra changes to make to the web.config.
- Set debug to false
<compilation targetFramework="4.0" debug="false">in the<compilation>section of<system.web> - Switch to Release mode before deploying.
There are a couple of differences compared to the tutorial:
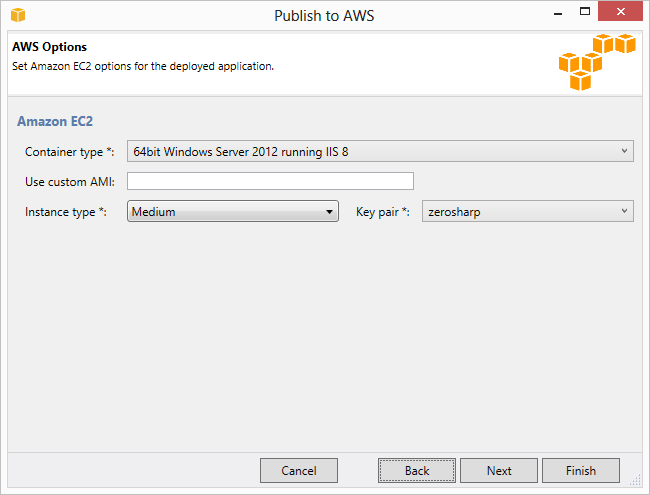
- I chose a Medium instance instead of a Micro instance for EC2 (the web server) and deployed it against IIS 8.
- For RDS (the database), I stuck with a Micro instance.

For the load test, it is also important to disable the automatic health checks performed by the load balancer.

The reason for this is that we are trying to determine the breaking point of our application. If the elastic load balancer detects that a system is struggling, it might automatically flag it as unhealthy and replace it with a newly launched instance. While this behaviour might be desirable for a production system, it doesn’t make sense for a load test.
Make sure you can connect to your installation from a web browser before continuing. I chose to deploy to a Windows 2012 instance running IIS 8.0 (which was not available when I wrote my previous XAF AWS tutorial) and I had a little trouble with the URL. If I navigate to the application’s base URL (http://zerosharp-maindemo.elasticbeanstalk.com/ in my case), then I get forwarding problems after logging in. Instead, I navigate to the full address http://zerosharp-maindemo.elasticbeanstalk.com/MainDemo.Web_deploy/Default.aspx and everything works. I’ll try to look into it later, but it’s not important for the load testing.